> ## Documentation Index
> Fetch the complete documentation index at: https://sol.advantagelearn.com/llms.txt
> Use this file to discover all available pages before exploring further.
# Authentication
# Authentication
## Authentication Logic
### Introduction
In January 2022 we refactored our login logic to use an in-app (custom) login page rather than the universal lock login
provided by Auth0. This outlines some key components of the login within the codebase.
### Backend components
* app
* Auth
* AuthInterface
* PasswordAuth
* PasswordlessEmailAuth
* SocialGoogleAuth
* Http
* Controllers
* Auth
* Auth0AuthController
* AuthController
* AuthGoogleController
* AuthPasswordController
* AuthPasswordlessEmailController
* SignUpController
* Requests
* SignUpRequest
* Repositories
* CustomUserRepository
* Services
* AuthService
### Controllers
#### Auth0AuthController
This controller handles the callback from Auth0 for authentication that doesn’t use our custom logic, but rather the
redirect logic. This is NB for logins like social logins (Google) that need to be redirected once authenticated back
to the App
We currently only use the `callbackCode` method for the Google social login
#### AuthController
This handles the primary web requests for authentication
* `login()` : The main login page request
* `verify()` : The verify user email request
* `forgotEmail()` : The forgot email page request
* `logout()` : The logout request
* `logoutConfirmation()` : The logout confirm page request
#### AuthGoogleController
This handles the web requests for Google authentication
* `loginGoogle()` : The Google login redirect request
#### AuthPasswordController
This handles the web requests for password authentication
* `forgotPassword()` : The forgot password page request
* `forgotPasswordProcess()` : Process forgot password request
* `loginPassword()` : The password login page request
* `loginPasswordProcess()` : Process login password validation request
#### AuthPasswordlessEmailController
This handles the web requests for passwordless email authentication
* `loginPasswordlessEmail()` : Handles both the page and the process of code reques
#### SignUp Controller
This handles the primary web requests for sign up
* `signUp()` : The main sign up page request
* `store()` : The verify and process new sign up request
### Requests
#### SignUpRequest
Handles the validation for the sign up request
### Repositories
#### CustomUserRepository
Handles the creation and upserting of new and existing users
* `upsertUse()` : This is the classic Auth0 method to upset a user on login if they were already logged in on auth0
* `updateOrCreate()`: Custom method to create or update a user on sign up and store them locally
### Services
#### AuthService
Service for all unique methods required by authentication
* `validateAuthEmail()` : Validates the user exists for the provided email
* `getUserAuthOptions()`: Gets the login options for the given user
* `processLogin()`: Process the login for a given email and Auth0 token data
* `validateRedirect()`: Validate redirect url parameter and set in session
* `validateSignUp()`: Validate if sign up is active and set in session
* `unvalidateSignUp()`: Remove sign up active from session
* `successfulLoginRedirect()`: Handle redirect on successful login
* `linkDuplicateAccounts()`: Handle linking of two authenticated accounts automatically
## Managing NGINX authentication
Some of our sites ask for a username or password before they allow you to access the site. It looks something like this:
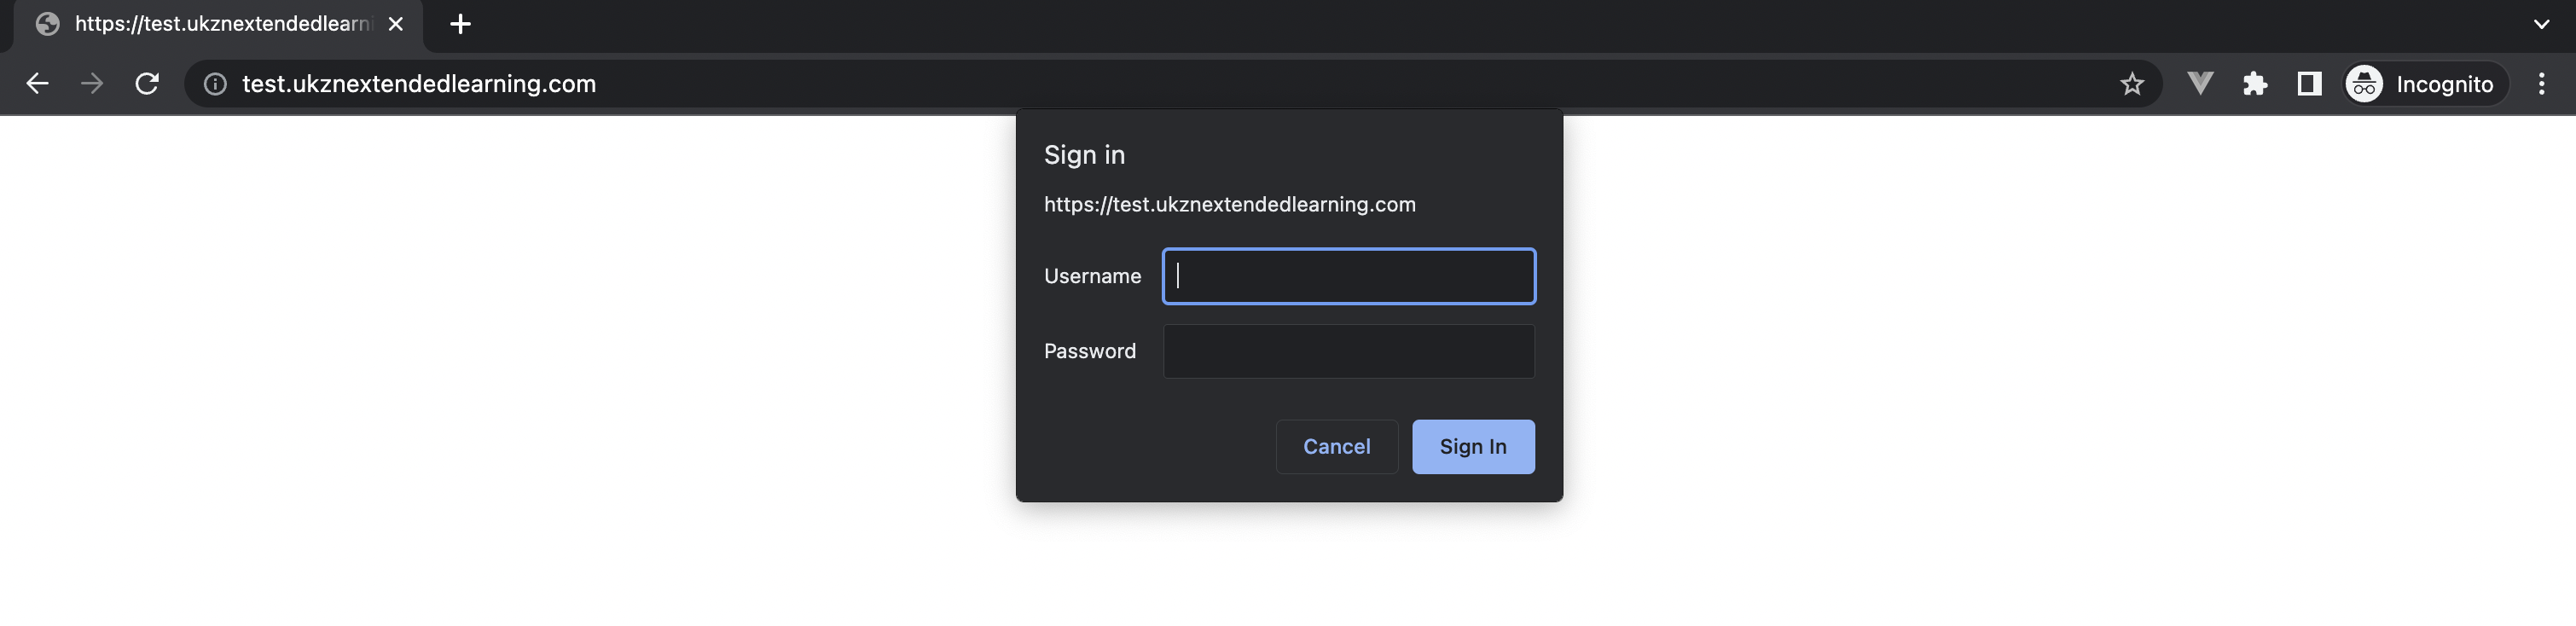 To set this up, you’ll first need SSH access into the server that hosts the site you are adding a password for. You’ll also need the sudo password for that server.
### Setting the username and password
1. SSH into the server: `ssh forge@`
2. Install `apache2-utils` if its not installed already: `sudo apt-get install apache2-utils`
3. Navigate to the folder for the site. `cd example.com`
4. Create the `.htpasswd` file: `sudo htpasswd -c .htpasswd `
5. It will prompt you to enter a password and confirm it. Make sure you save this password somewhere (preferably a password manager). The version that you will see in the `.htpasswd` file is a hashed version of the password for security reasons.
### Setting up the authentication
Look for a line in the NGINX configuration for the site which looks like this:
```php theme={null}
# FORGE CONFIG (DO NOT REMOVE!)
include forge-conf/example.com/server/*;
location / {
try_files $uri $uri/ /index.php?$query_string;
}
```
Change it to the following (replace [example.com](http://example.com) with the actual site domain name):
```php theme={null}
# FORGE CONFIG (DO NOT REMOVE!)
include forge-conf/example.com/server/*;
location / {
try_files $uri $uri/ /index.php?$query_string;
auth_basic "Restricted Area";
auth_basic_user_file /home/forge/example.com/.htpasswd;
}
```
To set this up, you’ll first need SSH access into the server that hosts the site you are adding a password for. You’ll also need the sudo password for that server.
### Setting the username and password
1. SSH into the server: `ssh forge@`
2. Install `apache2-utils` if its not installed already: `sudo apt-get install apache2-utils`
3. Navigate to the folder for the site. `cd example.com`
4. Create the `.htpasswd` file: `sudo htpasswd -c .htpasswd `
5. It will prompt you to enter a password and confirm it. Make sure you save this password somewhere (preferably a password manager). The version that you will see in the `.htpasswd` file is a hashed version of the password for security reasons.
### Setting up the authentication
Look for a line in the NGINX configuration for the site which looks like this:
```php theme={null}
# FORGE CONFIG (DO NOT REMOVE!)
include forge-conf/example.com/server/*;
location / {
try_files $uri $uri/ /index.php?$query_string;
}
```
Change it to the following (replace [example.com](http://example.com) with the actual site domain name):
```php theme={null}
# FORGE CONFIG (DO NOT REMOVE!)
include forge-conf/example.com/server/*;
location / {
try_files $uri $uri/ /index.php?$query_string;
auth_basic "Restricted Area";
auth_basic_user_file /home/forge/example.com/.htpasswd;
}
```